
Archives: Knowledge Base
-
What is a leave policy and how does it work in Day Off?
A leave policy in Day Off is a way to define how time off works in your company. It allows you to set clear rules for different types of leave, such as vacation, sick leave, or personal time, and control how employees request and use them.
With Day Off, creating and managing leave policies is simple and flexible. You can customize everything based on your company’s needs and apply different policies to different groups of employees.
How Leave Policies Work in Day Off
Day Off helps you organize leave in a structured and automated way. Once a policy is set up, the system takes care of tracking balances, applying rules, and managing requests.
1. Create and Customize Leave Policies
You can create multiple leave policies, each with its own rules and settings.
- Set different leave balances and allowances
- Customize policies based on your company’s requirements
- Create as many policies as you need
This makes it easy to support different departments, roles, or locations.
2. Add and Configure Leave Types
Each leave policy can include one or more leave types, depending on what your company offers.
Add leave types like:
- Paid Time Off (PTO)
- Sick Leave
- Personal Leave
- Paid Hours
Customize options for each leave type:
- Enable auto-approval
- Allow half-day requests
- Allow or restrict negative balances
- Require documents for certain requests
You’re not limited, each policy can include as many leave types as needed.
3. Manage Accrual and Carryover Rules
Day Off allows you to control how leave is earned and what happens to unused days.
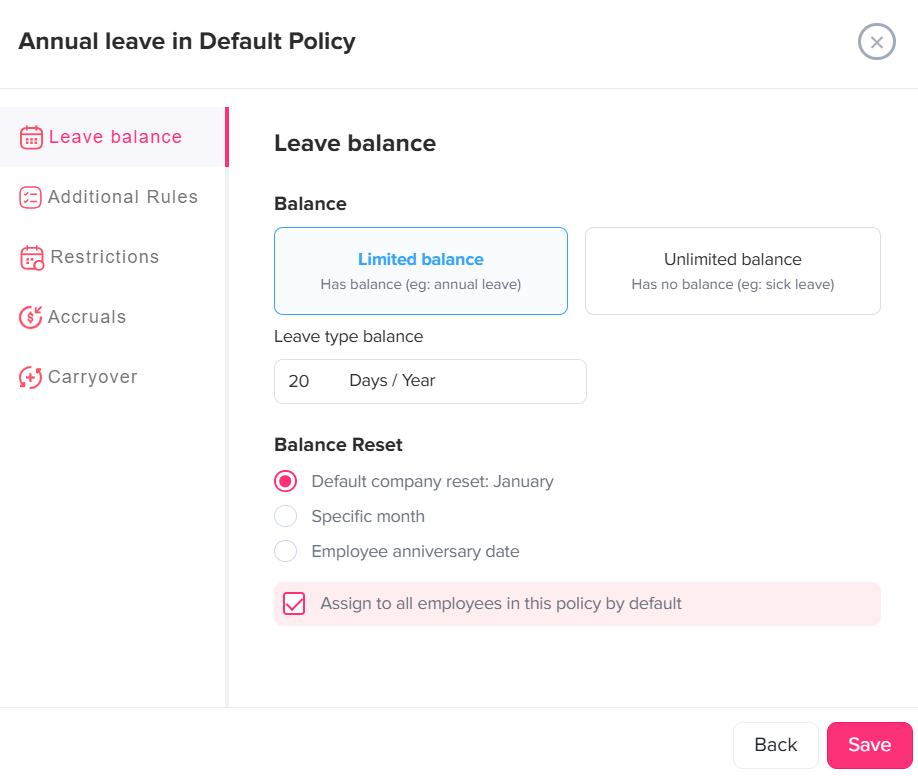
- Set up accrual rules (e.g., monthly or weekly, bi-weekly, or semi-monthly)
- Decide if unused leave can carry over
- Limit how much leave can be carried forward
This ensures your leave policies match your company’s real-life rules.
4. Assign Policies the Way You Want
One of the most powerful features is how flexible policy assignment is.
You can assign leave policies in three ways:
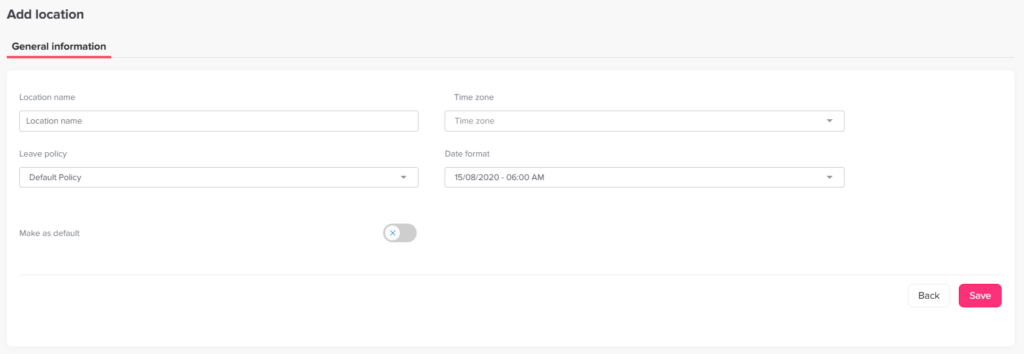
- By location: Apply a policy to everyone in a specific office or country
- By team: Assign different policies to different teams (e.g., HR vs Engineering)
- By individual employee: Customize policies for specific employees when needed
This gives you full control and flexibility.
5. Automatic Tracking and Management
Once your leave policy is set up:
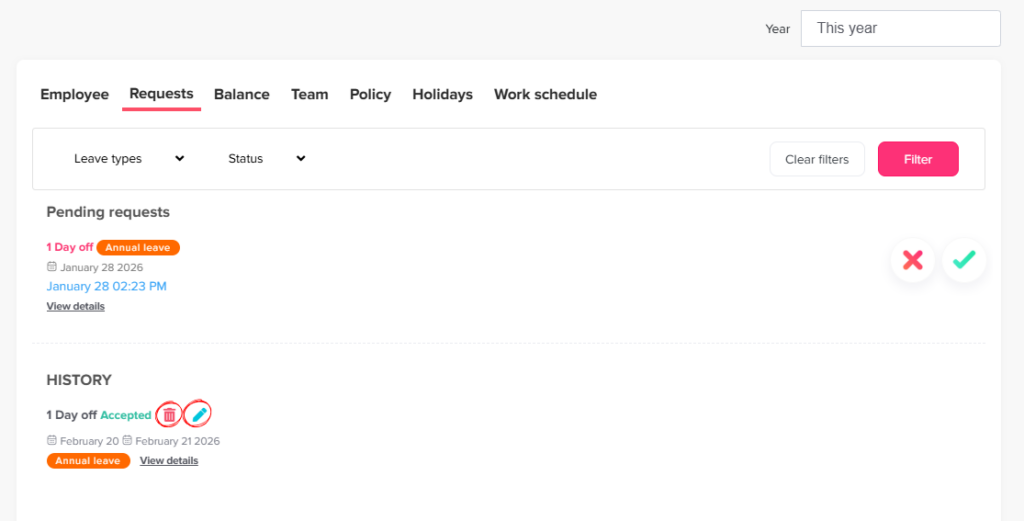
- Employees submit leave requests
- The system applies the correct policy automatically
- Leave balances are updated instantly
- Managers can approve or reject requests easily
Everything runs smoothly without manual tracking.
Why Leave Policies Are Important
Having a clear leave policy helps your team:
- Understand how much time off they have
- Know the rules for requesting leave
- Avoid confusion or miscommunication
- Ensure fairness across the company
For admins, it means less manual work and better visibility.
Leave policies are the foundation of how time off is managed in Day Off. With flexible settings, customizable rules, and automatic tracking, you can create a system that fits your company perfectly, no matter how simple or complex your needs are.
-
How can I filter reports by date?
Date filtering helps you analyze leave data within a selected timeframe, such as a month, quarter, or custom range.
How to Apply Date Filters
To filter a report by date:
- Go to the Reports section
- Open the report you want (e.g., Detailed Report or Total Report)
- Select your desired date range
- Apply the filter to update the results
-
Does Day Off have APIs?
The Day Off API allows you to seamlessly connect your systems with Day Off and automate key processes. With it, you can programmatically access and manage data such as employee records, leave requests, and balances, helping you reduce manual work and keep everything in sync across your tools.
Setup Steps
1. Go to the API Section in Day Off
Start by accessing the API settings inside your Day Off account.
- From the main menu, go to Integrations
- Click on API
You’ll land on the API Key Management page.
At first, this page might look empty (as shown in your screenshot), especially if you haven’t created any API keys yet. That’s completely normal.
Think of this page as your control center for anything related to API access.
2. Create a New API Key
Before you can connect to the API, you need to generate an API key. This key acts like a secure password that allows your system to talk to Day Off.
- Click on Add API Key
- A popup window will appear
- Enter a Name for your key: “HR System Integration” or “Zapier Automation”
- Choose an Expiry Date: This adds an extra layer of security
- Click Add
Once created, your API key will be generated.
3. Open and Understand the API Documentation
Now that you have your API key, the next step is to understand how to use it.
- Click on Documentation
- This will open the Day Off API documentation
Inside, you’ll find:
- A list of available endpoints (things you can do with the API)
- Example requests and responses
- Technical details for developers
For example, you can:
- Get a list of employees
- Fetch leave requests
- Check leave balances
- Access teams, roles, and locations
There’s also an option to download the OpenAPI specification, which is useful if you’re working with developers or tools like Postman.
Think of the documentation as your instruction manual for the API.
4. Connect Using Your API Key
To connect your system with Day Off, you’ll need to include your API key when sending requests.
- Add your API key like this:
x-api-key: YOUR_API_KEYThis step tells Day Off that the request is coming from you.
If the key is missing or incorrect:
- The request won’t work
- You’ll get an error
5. Start Using the Integration
nce everything is set up, you can start using the API.
You can now:
- Get employee information
- Track or manage leave requests
- Keep data synced with your other tools
This helps you save time and avoid doing the same work manually.
Best Practices (Highly Recommended)
To keep your integration secure and reliable:
- Keep your API key private at all times
- Rotate your API keys regularly (create new ones and delete old ones)
- Always set an expiry date for better security
- Never expose API keys in frontend apps or public repositories
- Always refer back to the documentation when building requests
The Day Off API gives you full control and flexibility to connect your systems with Day Off. While the setup is simple, it opens the door to powerful automation and customization.
Once everything is in place, your team can reduce manual work, avoid errors, and keep all systems perfectly in sync.
-
How do I track employee leave balances through reports?
The Balances Report gives you a clear overview of how much leave each employee has used and how much remains.
Using the Balances Report
To track leave balances:
- Go to the Reports section
- Open the Balances Report
- Apply filters if needed (such as leave policy or team)
What You Can See
Inside the report, you’ll be able to:
- View each employee’s total allocated balance
- See how many days are used vs remaining
- Break down balances by leave type (e.g., vacation, sick leave)
- Check the total used vs total available per employee
This gives you a complete and accurate picture of leave balances across your organization.
Using the Total Report
The Total Report helps you track how much leave employees have used over a specific period.
To access it:
- Go to the Reports section
- Open the Total Report
- Select a date range
What You Can See
- Total number of days or hours used per employee
- Usage summary during a selected period
-
How to Integrate Day Off with Microsoft Teams?
Connect Day Off with your Microsoft Teams workspace to streamline leave management and improve team visibility. Employees can easily submit time off requests directly within Microsoft Teams, eliminating the need to switch between platforms and making the process faster and more efficient.
Setup Steps
- Navigate to the Integrations section from the main menu
- Locate Microsoft Teams and click on Add Integration
Once you click Add Integration, Day Off will prompt you to grant permission to connect with your Microsoft Teams workspace.
- Review the requested permissions carefully
- Click Allow to authorize the connection
After authorization, you can proceed to configure the integration settings based on your organization’s preferences.
1. Import Employees from Microsoft Teams
Start by importing your employees from Microsoft Teams to ensure your Day Off directory is aligned with your organization.
- Click on Import employees
- Day Off will sync users from your connected Microsoft Teams workspace
- This helps eliminate manual data entry and keeps employee records consistent
- Ideal for onboarding new employees or syncing large teams quickly
Best Practice:
Perform this step during initial setup or whenever your Teams directory is updated.2. Enable “Who is Absent” Daily Digest
This feature sends a daily summary of employees who are on leave directly to Microsoft Teams.
- Enable Send daily message with who is absent
- Currently, the digest is sent at the company level (as shown in your configuration)
Why this matters:
It gives teams a quick overview of availability, helping managers and employees plan their workday more effectively.3. Select Digest Message Style
Customize how absence information is displayed in Microsoft Teams notifications.
- Name only: Displays only employee names for a simple overview
- Name with leave type: Adds context such as vacation or sick leave
- Name with leave type and date: Provides full details for better visibility
Recommendation:
Use name with leave type and date for clearer communication, especially in larger teams.4. Set Message Delivery Time
Control when daily notifications are sent to Microsoft Teams.
- Choose the preferred time
- Ensures notifications are delivered each day consistently
- Helps teams start their day with clear visibility on who is absent
Tip:
Schedule messages early in the morning so everyone is informed before the workday begins.5. Save Your Changes
- Click Save changes to apply your configuration
- The Microsoft Teams integration will become active immediately
Important:
Any unsaved changes will be lost if you leave the page before saving.Integrating Day Off with Microsoft Teams simplifies how your team tracks absences and plans work. With automated daily digests and customizable message formats, your team stays informed without extra effort.
As your organization evolves, you can easily update these settings to match your communication needs.
-
How to Integrate Day Off with Slack?
Integrating Day Off with Slack enables your team to stay informed with real-time, automated notifications about absences, holidays, and leave updates, right within your Slack channels. Employees can conveniently submit time off requests directly through Slack, while approvers can review and approve or reject requests without leaving the platform.
Setup Steps
- Navigate to the Integrations section from the main menu.
- Locate Slack and click on Add Integration.
- Day Off will prompt you to grant permission to connect with your Slack workspace. Please review the requested permissions carefully, then click Allow to complete the connection.
- Configure the integration settings based on your organization’s preferences.
1. Import Employees from Slack (Optional but Recommended)
Start by importing your employees from Slack to ensure your Day Off directory is aligned with your workspace.
- Click on Import employees
- Day Off will sync users from your connected Slack workspace
- This reduces manual data entry and ensures consistency between systems
- It’s especially useful for growing teams or when onboarding multiple employees at once
Best Practice:
Run this step during initial setup or whenever you add many new employees to Slack.2. Enable “Who is Absent” Daily Digest
This feature sends a daily summary of employees who are on leave.
- Turn on the toggle for Send daily message with who is absent
- Choose how the digest should be grouped:
- All company: one message for everyone
- By location: separate summaries per office/location
- By team: tailored messages for each team
Why this matters:
It helps managers and teammates quickly understand availability and plan work accordingly without checking Day Off manually.3. Select Slack Message Style
Customize how the absence information appears in Slack messages.
- Name only: shows just employee names (simple and clean)
- Name with leave type: adds context (e.g., vacation, sick leave)
- Name with leave type and date: provides full detail for better planning
Recommendation:
Use name + leave type + date for maximum clarity, especially for larger teams or cross-functional collaboration.4. Enable Official Holidays Digest
Keep your team informed about upcoming public holidays automatically.
- Enable the Official holidays digest toggle
- Assign a Slack channel for each location you have in your account (e.g., US, UK, Spain, etc.)
- Day Off will send reminders one working day before the holiday
Why this is useful:
It prevents last-minute surprises and helps teams prepare for reduced availability.5. Set Message Delivery Time
Control exactly when notifications are sent.
- Choose the time for daily digests (e.g., 12:00 AM, Central Time)
- This ensures messages are delivered at a consistent and predictable time
- Align the timing with your team’s working hours or start of day
Tip:
Set the time early in the morning so teams can plan their day ahead.6. Save Your Changes
- Click Save changes to apply all configurations
- Your Slack integration becomes active immediately after saving
Important:
If you navigate away without saving, your settings will not be applied.Once set up, the integration runs seamlessly in the background, keeping everyone informed, aligned, and better prepared for daily operations.
If your team structure or communication needs change, you can revisit these settings at any time to adjust channels, notification preferences, or delivery timing.
-
Can I customize reports based on my team or leave policy?
Yes, you can customize reports in Day Off based on your team, leave policy, and other filters giving you flexible and targeted insights.
Available Filters
Day Off allows you to filter reports based on:
- Employee name
- Team / Department
- Leave type
- Leave policy
- Location
These filters help you narrow down data and analyze specific groups or scenarios easily
-
How do I sync my calendar to Google Calendar?
Syncing your Day Off account with Google Calendar allows your time-off requests to appear automatically alongside your meetings and events. This helps you plan your schedule more effectively, avoid overlaps, and always have a clear view of your availability in one place.
For Admins / Employees (Initial Setup)
Before you can start syncing, you need to connect your Google account to Day Off.
- Open the Day Off dashboard
- From the main menu, go to Integrations
- Locate the Google Calendar Integration
- Click on Add Integration
- You will be redirected to Google to sign in to your account
- Review the requested permissions and click Allow
This step securely links your Google Calendar with Day Off. It allows the system to automatically create and update events based on your time-off requests, without requiring any manual input from you.
Configure Google Calendar Sync
After connecting your account, you can customize how your calendar behaves and what kind of information gets synced.
Choose what to sync
This setting lets you decide how much information you want to appear in your Google Calendar:
- Sync only my requests
Only your personal time-off requests will be added to your calendar.
This is the best option if you prefer a clean and focused calendar that reflects only your own schedule, without any additional information from others. - Include my team’s requests
Your calendar will show both your requests and your team’s requests.
This is useful if you work closely with your team and want to stay aware of who is off, helping you plan work and avoid scheduling conflicts within the team. - Include company-wide requests
All employee time off requests across the organization will be added to your calendar.
This gives you a complete overview of availability across the company, which is especially helpful for admins or roles that require broad visibility.
Each option gives you flexibility to control how detailed your calendar should be.
Select Google calendar
- If you have multiple calendars in your Google account, you can choose exactly where the Day Off data should appear
- For example, you might want to keep a separate calendar just for time-off tracking
- This helps keep your main calendar organized and prevents it from becoming cluttered
Choosing the right calendar ensures that your schedule stays clear and easy to manage.
Set event visibility
This setting controls how your time off events affect your availability in Google Calendar:
- Show as available
Your time off will appear in your calendar, but your availability will remain open. This means others can still schedule meetings with you during that time, which may be useful in flexible work environments - Show as busy
Your time off will block your availability in Google Calendar
This prevents meetings from being scheduled during your leave and helps protect your time off
This option is especially important if you want to avoid interruptions while you are away.
Final Step
After reviewing and selecting your preferences, click Save Settings
Once saved:
- Your time off requests will automatically appear in your Google Calendar
- Any updates, edits, or cancellations in Day Off will sync automatically
- Your calendar will always stay up to date without needing manual updates
Disconnecting Google Calendar
- If you decide to stop syncing, go back to Integrations
- Find Google Calendar Integration
- Click Disconnect
This will stop the connection and prevent any future updates from being sent to your Google Calendar.
Final Note
Syncing your Day Off calendar with Google Calendar helps you stay organized, reduces the risk of scheduling conflicts, and gives you a complete view of your availability, all in one place.